Gallery Photo Layout?
USING PHOTOSHOP TO DESIGN A PHOTO LAYOUT
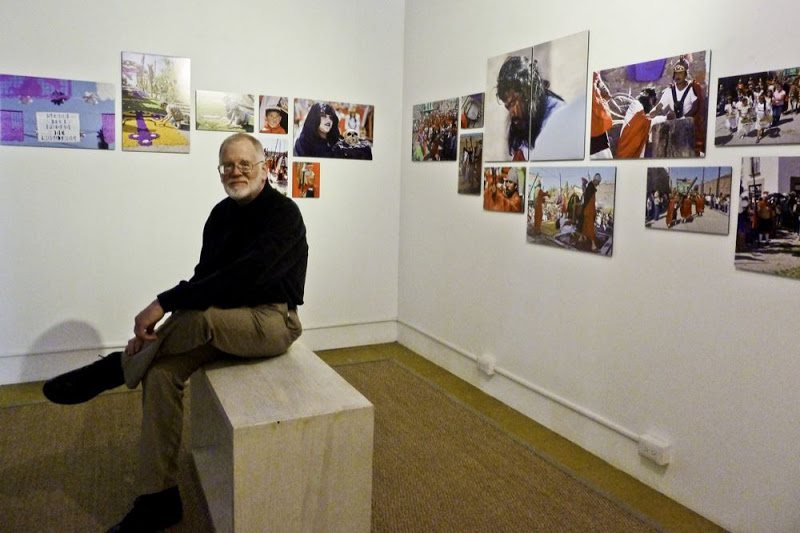
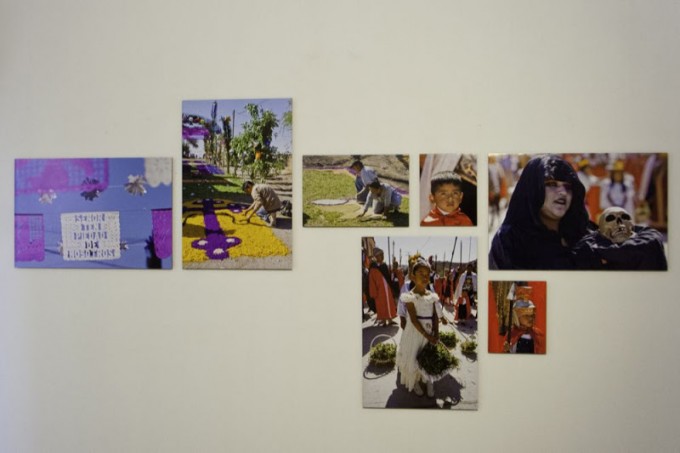
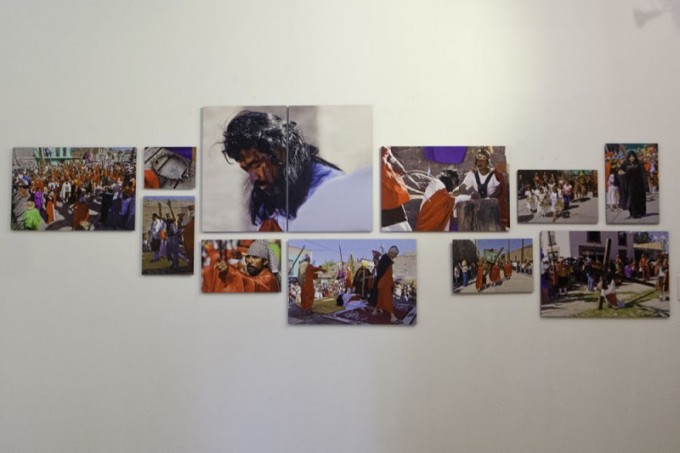
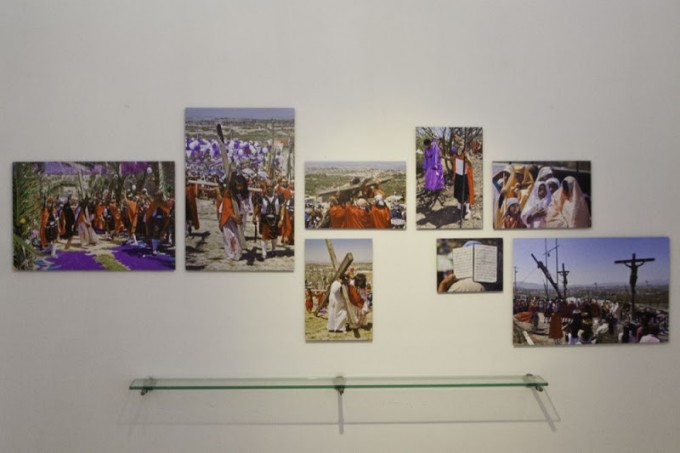
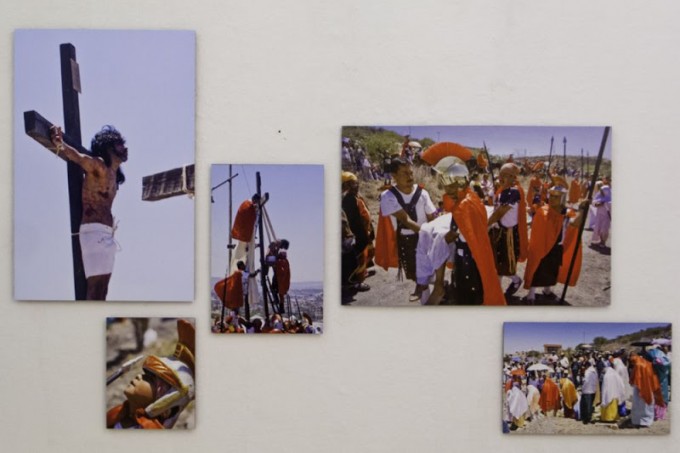
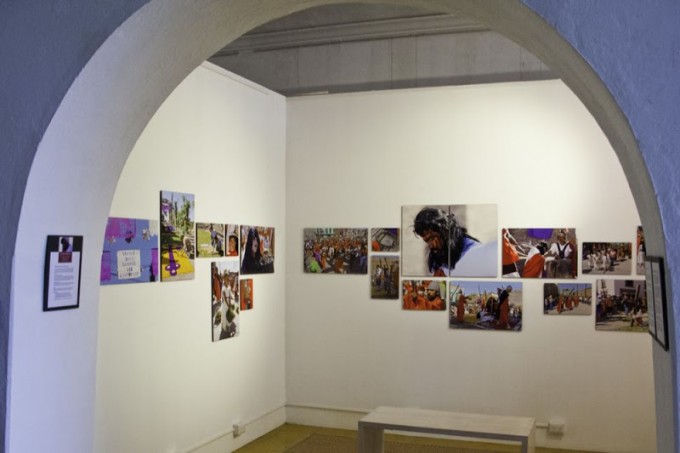
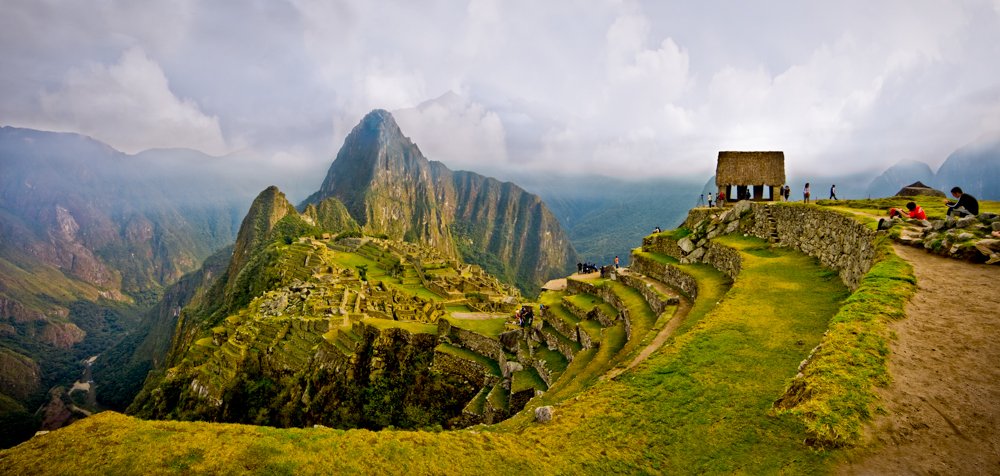
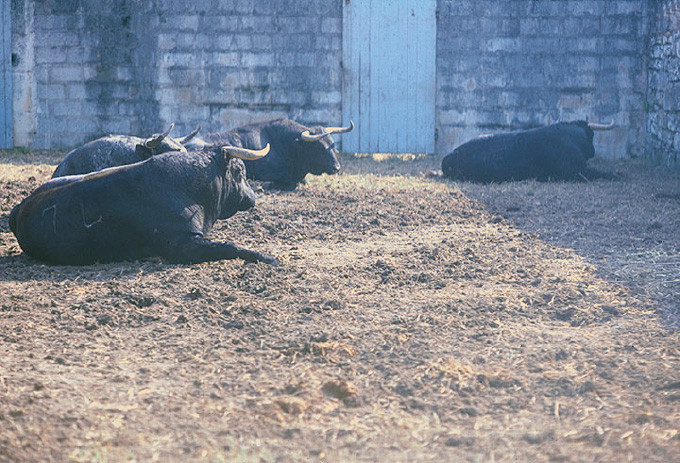
Jim Quinn used Photoshop to create the complicated layout of his documentary photo exhibit, “Good Friday in Colonia San Luis Rey,” which was shown in the winter of 2012 in the Instituto Allende’s Galeria Pergola in San Miguel de Allende, Mexico.
If you have a series of photos or other images that you plan to display, it’s easy to build a layout using Photoshop. There are a number of steps, so take your time. Here’s how:
1. If you already know the space where your photos will be displayed, measure that space – in inches to avoid dealing with fractions later. Let’s say you will hang the art on one wall that’s 10 feet long and 9 feet high. Your measurement will be 120 inches wide by 108 inches high.
2. Measure your images, again in inches, including the size of mats and frames if you’re planning to use them. If all your images will be the same size, that makes things a bit easier, but you can make a variety of sizes and see which ones work best.
3. In Photoshop, create a new master document the same size as your wall space – but NOT in inches! Instead, use a much smaller unit of measure. For example, you can create a document that measures 120 by 108 centimeters. Choose a low resolution, 72 ppi for example, because this document will be used only for position. Give this document a convenient name –for example: Photo Show 2012.
4. Open the digital files of your images one by one in Photoshop. Make a duplicate copy of each file (go to Image>Duplicate), then close the original file to avoid changing it accidentally. If your duplicate has two or more layers, flatten them. If your duplicate is in 16-bit mode, go to Image>Mode and change it to 8 bit.
5. If you have already decided how large your files will be on the wall, click on each newly created duplicate, go to Image>Image Size, and add the width and height you plan to use – but choose centimeters (or your preferred unit of measure) instead of inches. Set the resolution to the same low figure you chose for the new master document.
6.If you’re not sure what your final size will be for any particular file, make two or more duplicates of each original and add the size of each variation to the file name of each duplicate. If one of your original images is labeled Smith.jpg, for example, label one duplicate Smith.9×6.jpg, the next Smith.15×10.jpg, and so on. Then resize each file to match the new names, again using centimeters.
7. If you’re planning to add a mat and/or a frame to each image, you can visualize what that will look like, and find out the finished size, by going to Image>Canvas Size. Let’s say you have a duplicate photo named Smith.6×4.jpg and you want to add a two-inch white mat around it. Add four centimeters to the width and the height, keeping the image in the center. Your image will now have its borders, and you’ll be able to see what it will look like. The final image will now measure 10 centimeters wide by 8 centimeters high.
8. If you want to add a black frame to the matted image, go back to Canvas Size and follow the same steps as before, except this time make the border black instead of white. The width of the border you choose will determine the final size of each duplicate image. A half-inch-wide black frame, for example, would make the final size of Smith.6×4.jpg 11 centimeters wide by 9 centimeters high.
9. Make sure to rename each duplicate to reflect the finished size, including any mat and frame. You may want to use a Save As command to save your new low-resolution duplicates into their own desktop folder.
10. Use the Move tool in Photoshop to drag each new duplicate into your master file. In that document’s layers panel, label each new layer with its name, including the size. If you’re choosing among several sizes, you can drag all the similarly named files together – you might have Smith.15×10 above Smith.9×6, for example.
11. By highlighting any layer and using the Move tool, you can move each file around within the master document, trying various combinations on for size. You can click on the Eye icon of any layer to show or hide it so you can see which combination of sizes works best.
12. In View>New Guide, you can add vertical or horizontal rules to your master document. If you decide that the top of each image should be exactly six feet off the ground, create a new horizontal rule that’s 72 centimeters from the bottom (or 36 centimeters from the top). Then, in your layers panel, highlight each layer and, using the Move tool, align it with that rule. In the same way, you can establish rules that show where to hang the first image on the left and the last image on the right.
13. By using a number of vertical and horizontal rules, you can determine exactly where each image should go and how far apart each should be from the others. The good thing about this method is that you can try out different positions, sizes, and spacings and choose which combination works best for you.
This is a lot easier than cutting out construction-paper rectangles and taping them to your gallery walls!


Suzanne Birrell
This is also a great idea for people who move a lot and have a lot of art to hang. Like us!
Thanks.
-Suzanne