| 2/1/2010 New Texture Blending Tuning Scripts
1/9/2010 Gallery of Texture Blending Work in 2010
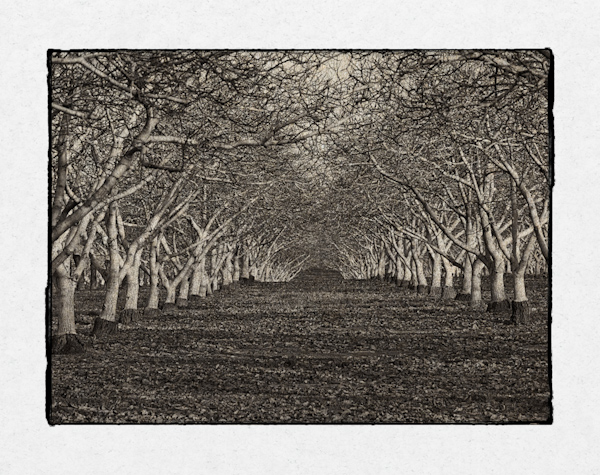
We share our work from 2010 in this gallery. We plan to write a bit more about our Texture Blending workflow soon.
12/27/2009 New Texture Blending Gallery
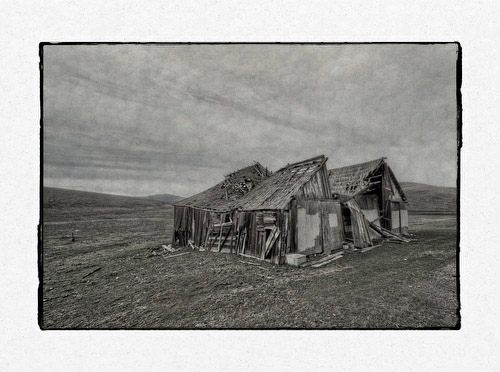
Over the last weeks we created some new images using our Texture Blending plugin. The gallery can be found here.
9/26/2009 Webinar on Texture Blending
We created today live a couple of sample images that we addres to our sample gallery. Was a lot of fun. Some images are based on the live feedback during the webinar. The webinar was recorded and will be offered as a re-play soon
6/7/2009 Texture Blending Sample Gallery extended
We added new samples to our SmugMug gallery.
Texture Blending
Motivation
Recently we used an Olympus E-30 and found the in camera exposure blending very creative. We also mentioned that often blending in Photoshop maybe the more controlled process. This started us looking for solutions that helped to produce images we like.
Here are the things we wanted to solve:
- We wanted the texture to be automatically resized to the target image. This can be a bit tedious if done manually in Photoshop.
- We also wanted to add options that let you explore non-destructively the blending process.
Our new script DOP Texture Blending is the result of this research.
Check out this gallery of samples we produced using our script.
Installation
The DOP Texture Blending comes as a Javascript file for Photoshop CS3-CS6 (we only support CS3-CS6).
- Full version is named: DOP_TextureBlending.jsx
- Demo version is named: DOP_TextureBlending_Demo.jsx
Installing the scripts
The scripts need to be copied to the Photoshop folder and here to Presets/Scripts (or to the equivalent locations for other languages). After restarting Photoshop you should find the script under File->Scripts. If you do not find it there you did not put the script into the proper location.
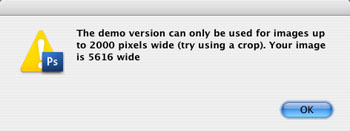
Note: The free demo version can only handle images up to 2000 pixels wide. The commercial version does not have this restriction. You will get this warning message if you use larger images with the demo version:
Using the DOP Texture Blending Script
Using the script
Using the script is simple:
Because you blend two images you need to have both images open in Photoshop. To make the process more easy we require to have exactly 2 images open. Now select the image that you want to use as the background. Select the top layer (top Layer Groups need to be collapsed). Run DOP Texture Blending form File->Scripts.
The script will then resize the image that is not selected to the same size as the selected image and use it as the Blending Layer (see below).
After you run Texture Blending it will create a new layer group:
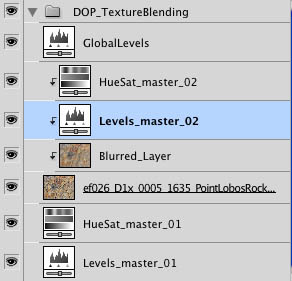
Here is a brief description of the layers and their use (bottom to top):
- Levels_Master_01: Controls the brightness, black and white point of the background layer
- HueSat_Master_01: Controls the saturation of the background layer
- Blending Layer: This layer gets the name of the image used for blending (to help find this image later). The blending mode of this layer is by default to “Multiply”. You can change the blending mode but we most often get the best results using Multiply.
- Blurred Layer: This is a blurred version of the blending layer. The opacity is 50% by default. You can control the blur of the blending by changing the opacity form 0-100%
- Levels_Master_02: Controls the brightness, black and white point of the blending layer
- HueSat_Master_02: Controls the saturation of the blending layer
- GlobalLevels: Allows to tune the brightness, black and white point of the blended result
- DOP_TextureBlending Group: Tuning the opacity of this group allows to adjust the overall blending strength.
As always it is best to see samples.
Sample #1
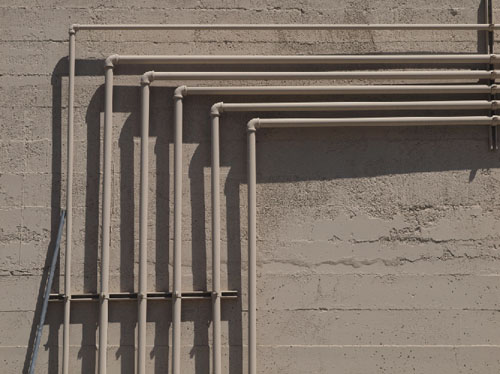
Simple image
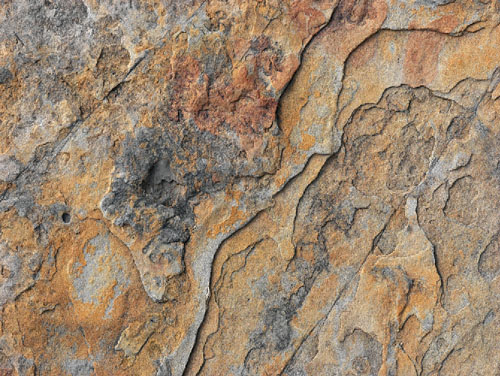
Rock Pattern
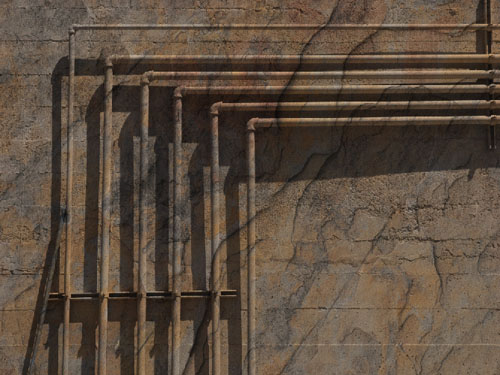
Blended Image
For fine tuning we often lower the saturation of the texture with the HueSat_Master_02 layer and also brighten the texture via the Levels_Master_02 layer. The opacity of the Blurred Layer can be adjusted at your taste.
Post-Processing
We then tune the result using:
Here is our final version:
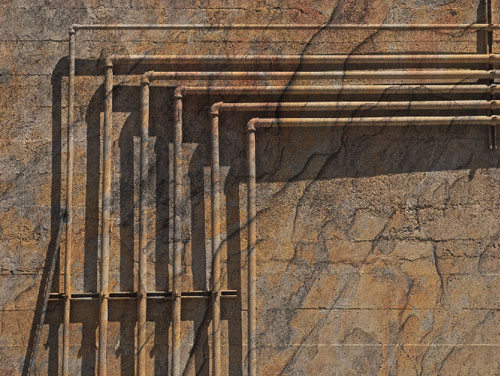
Sample #2
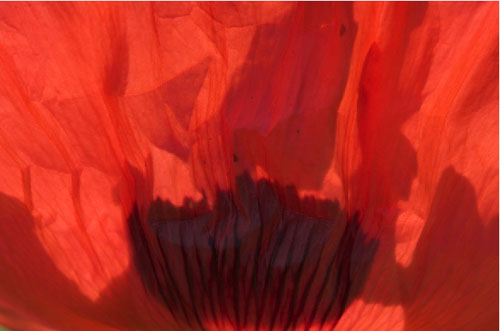
Giant Poppy
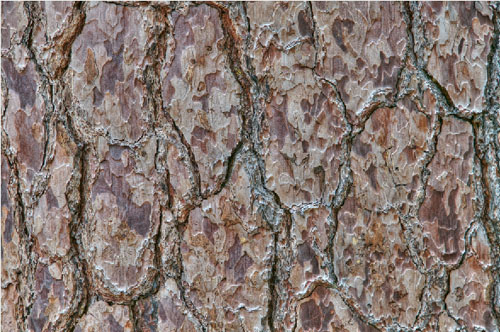
Bark
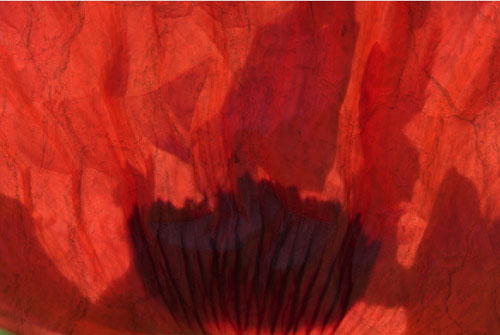
Result
In this sample the texture just provides some more tooth to the image. The Texture itself is not really dominant.
Sample #3
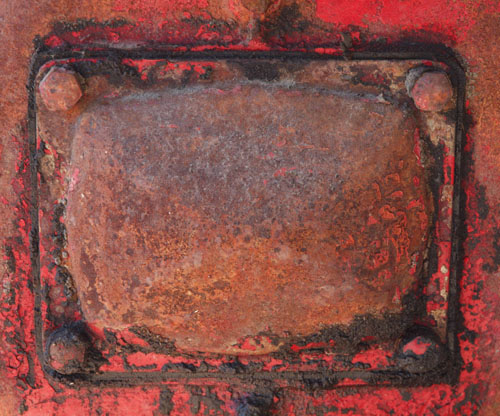
Rusty Machine Part
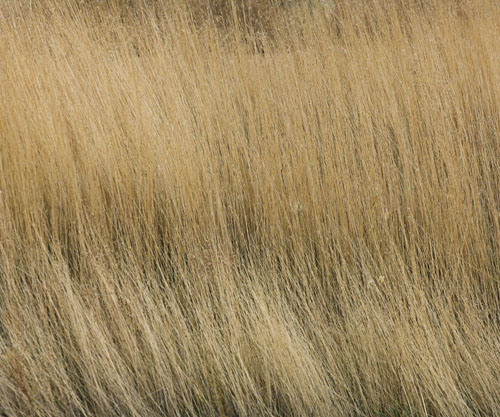
Pale Grass
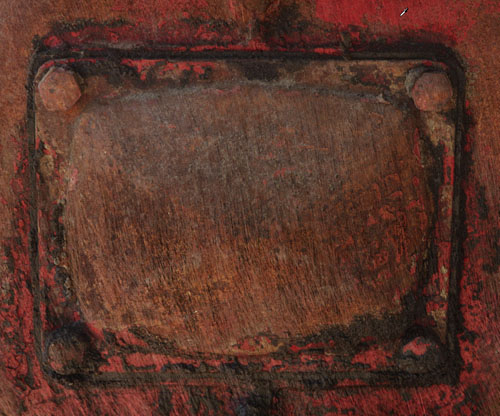
Result
This image shows how the texture really makes the image. The result does not really show the grass but shows a brushed texture.
Conclusion
We find blending exposures a creative and fun process. There is a lot of trial and error involved but we also get rewarded with some very nice results. Of course finding good texture images is important. We find quite a few but will also watch in the future for subjects that just make good textures. If we find demand we may even start selling texture bundles.
As always try before you buy.
Here is a sample image using our Texture Blending scripts: Making of a Texture Blended Image #1.
|