Lightroom 4: Using the Adjustment Brush in Auto Mask Mode
Uwe Steinmueller |  11-11-2013
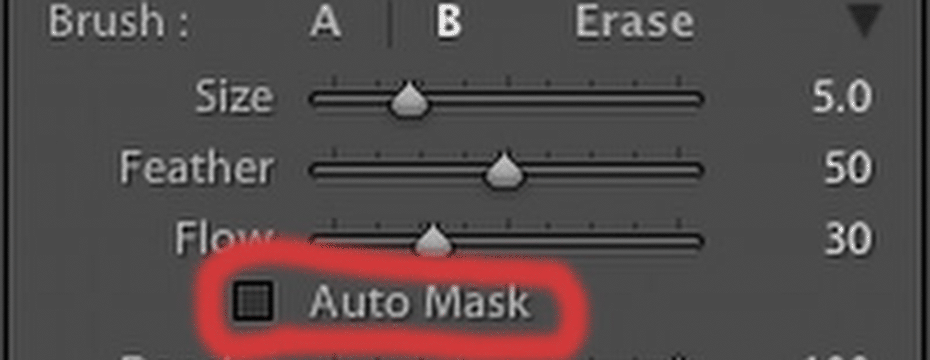
The Adjustment Brush in Lightroom is a very powerful tool. Using the Auto Brush mode allows you to get even more precise results. If you select Auto Mask the brush tries to only cover areas of your image that are close in color to your starting point as long as your brush center does not cross edges. Best we show the principle with a sample.

Starting point The first time we have Auto Mask off. We use a brightening brush (about +1.8EV) and brush inside the light blue square so that the center cross of the brush does not(!) leave the blue area.

Auto Mask offAs you can see the brush effect bleeds into the black border and also other color patches. We show the brush area as red by hitting the ‘O’ key.
Now the same procedure with Auto Mask enabled and brush again inside the light blue square so that the center cross of the brush does not(!) leave the blue area.

Auto Mask on. The mask only targeted the blue area and that is what we wanted. In real photos the situation is not as clear but still Auto Brush can help a lot to get more precise brush results.
Learn more about Lightroom from our e-books: Available HERE