Perspective Warp in Photoshop CC
Uwe Steinmueller in Photoshop

Perspective distortions are hard to avoid if you photograph buildings and some scenery. That is why perspective corrections are a standard part of many raw converters and, of course, Photoshop.
• Lightroom: Upright and perspective transformations
• Photoshop: Perspective crop and perspective transform
• DxO Viewpoint as plugin for Photoshop and Lightroom
In many cases these tools work just fine and we use them all the time. The new Perspective Warp tool in Photoshop CC (V14.2) brings perspective corrections to a new level.
Lets check an example. This is a photo from the Hackeschen Höfen in Berlin (Nikon D800). At first we did not really like it because of these busy distortions.

The Perspective Warp tool shows in the Photoshop Edit menu. We were quite surprised that on our Mac Pro 2009 with two NVIDIA GeForce GT 120 512 MB this menu entry was grayed out while it worked just fine on our MacBook Pro Retina V1. The explanation is simple. The Perspective Warp works entirely on the GPU and some older GPUs are not supported.
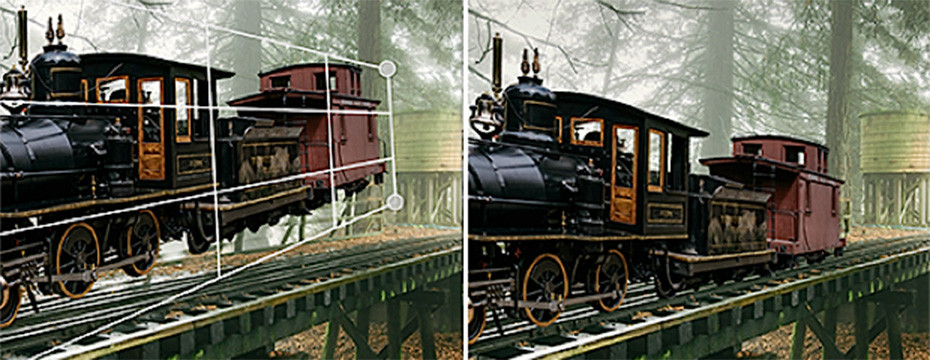
Perspective Warp is a two-step process. First we define a warp layout and then finally the warp process.

With Perspective Warp you can define multiple warp regions that allow different warp transformations. We use three sections.

When we have defined the layout we click on the Warp button.

Now we like the result.

With other tools the corrections would have been much more complicated.
There is a lot to learn about the new Perspective Warp but we already see the potential.


