Flat Field Correction For Lightroom
From Photography Life:
Longitudinal Chromatic Aberration
Longitudinal Chromatic Aberration, also known as “LoCA” or “bokeh fringing”, occurs when different wavelengths of color do not converge at the same point after passing through a lens, as illustrated below:

Lenses with Longitudinal Chromatic Aberration problems can show fringing around objects throughout the image, even in the center. Red, Green, Blue or a combination of these colors can appear around objects. Longitudinal Chromatic Aberration can be dramatically reduced by stopping down the lens. Fast aperture prime lenses are typically much more prone to LoCA than slower lenses.
Read more: http://photographylife.com/what-is-chromatic-aberration#ixzz2mY2BAyIj
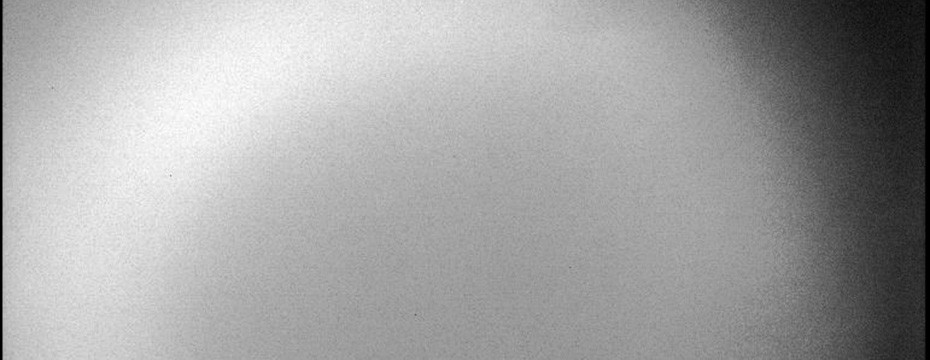
According to Adobe, the Adobe ® DNG Flat Field is a plug-in for Lightroom to correct an optical phenomenon called shading (also known as “lens cast”). Shading is a more general form of standard lens vignetting: with shading, the light falloff can be asymmetric and can have a color cast (e.g., green on the left side of the image, and magenta on the right side). Again according to Adobe, it is most often seen with mirrorless camera systems. Examples include medium format digital backs on technical cameras, and Micro Four-Thirds or Sony NEX cameras with third-party, non-retrofocus lenses. The new Sony A7/A7R are reported to produce this “shading” with many wide angle lenses particularly.
Those using a Medium Format digital back have included color cast removal software supplied with them. If you are using Lightroom 4 or later, Adobe has a little known plug-in that can be installed for this same purpose. The easiest way to fix shading is with a calibration image. When you take a regular photo, you also shoot a reference or calibration shot (e.g., through a plastic diffuser card) with the same optical setup. For best results, use the same optical configuration (i.e. same lens, f-stop number, focal length, focal distance, etc.) when shooting your regular photo and the calibration shot. Software like the DNG Flat Field plug-in can then analyze the calibration shot, and using some Adobe proprietary software voodoo, remove the light falloff and color cast from the corresponding rendered photo by creating a new “color cast and shading free” RAW file. Sounds like white magic to me!
In order to use this new feature plug-in, you need to first download and install it. You will also need a frosted bit of plastic for the front of your lens. The plug-in download lives here, as of the time this article was written:
http://labs.adobe.com/downloads/lightroomplugins.html
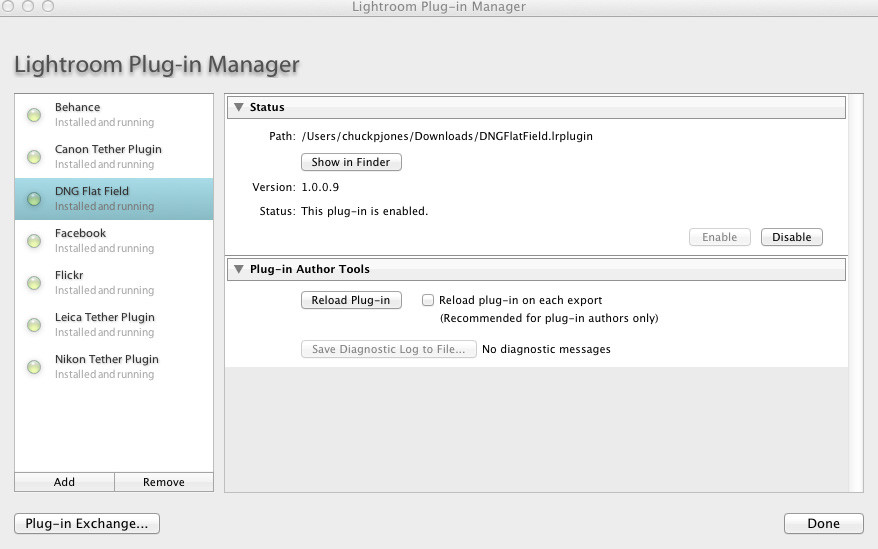
Installation instructions are simple. You startup Lightroom 4 or 5 (the plugin does not work with Lightroom versions prior to 4), and on the FILE Menu, select Plug-In Manager. On the next screen, shown in Figure 1 below, select ADD. That will open up a navigation screen so you can navigate to wherever you put your downloaded install file. Select that file to install the plug-in.
- Figure 1 – Adobe Lightroom Plug-In Manager Installer Screen
Once initially installed, the Adobe DNG Flat Field plug-in is available in the Lightroom Library module, from the Library -> Plug-In Extras menu. There are two menu options:
Apply Interleaved Correction & Apply External Correction. Use Apply Interleaved Correction for the case where you interleave calibration shots with your real photos in the field (e.g., take some pictures, take a calibration shot, take some more pictures, take another calibration shot, rinse and repeat as often as necessary). As the light changes, so does your calibration. To be on the safe side when shooting with a lens that is known to exhibit problems on a particular camera body, you should do a calibration capture whenever the light changes moderately. It’s almost mandatory to do a new calibration shot when conditions have changed dramatically in light or in your camera settings.
Use the “Apply External Correction” setting for the studio/museum case where you have a fixed setup and you simply want to apply a correction using a pre-shot calibration file on disk (chosen via a dialog box). Both features are designed to work in batch mode. When applying corrections, the plug-in generates a new DNG file and automatically adds it to the catalog, stacked with the original photo. Therefore, after applying the correction, you now have uncorrected (i.e., original) and corrected photos sitting side-by-side. This makes it easy to do before/after comparisons, as well as preserving your original DNG file.
In interleaved mode, the plug-in automatically detects calibration shots. Just select all your images (including both the real-world photos and the calibration shots in their natural interleaved order) and run the “Apply interleaved correction” command. The plug-in automatically detects the calibration shots (via image analysis) and applies the correction to the selected non-calibration shots automagically! What more could you ask for?
A big thank you to Adobe Labs for making this flat field correction plug-in and the information on how to use it available!
PLEASE RATE THIS STORY! [ratings]




Pingback: outbackphoto - News - Flat Field Correction For Lightroom