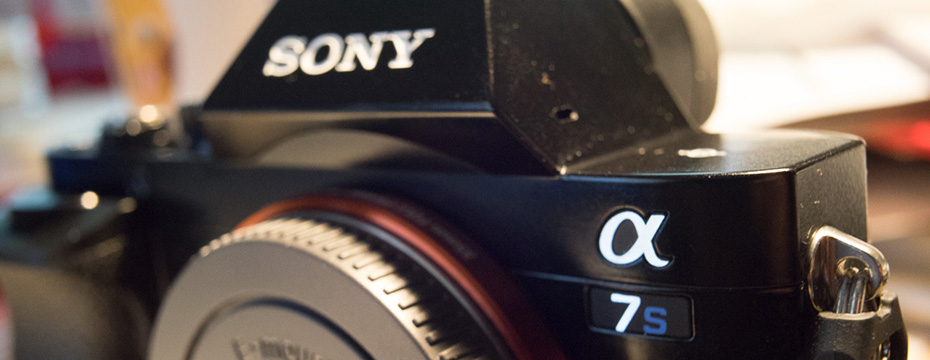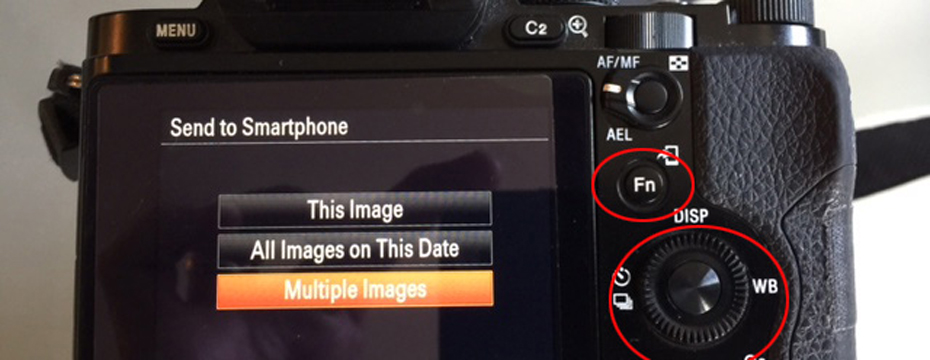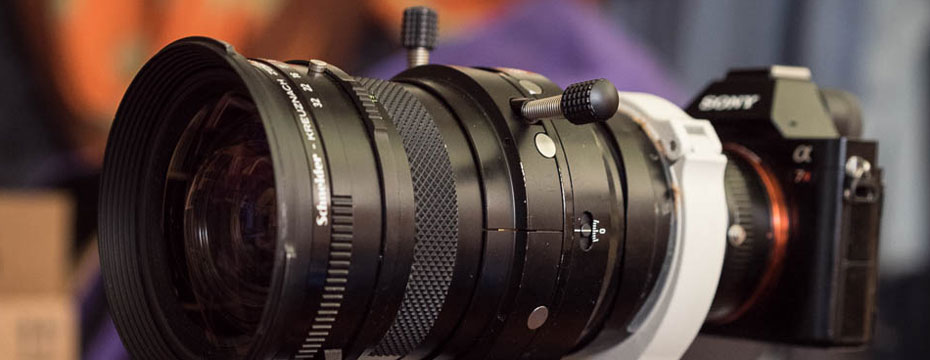
Perspective Correction: Meet The BRONICAsaurus
Perspective correction, or “tilt–shift” as it is often called, encompasses two different types of movements: rotation of the lens plane relative to the image plane, called tilt, and movement of the lens parallel to the image plane, called shift.
Tilt is used to control the orientation of the plane of focus (PoF), and hence the part of an image that appears sharp. Tilt makes use of the Scheimpflug principle (the math is all there). Shift is used to adjust the position of the subject in the image area without moving the camera back. This movement is absolutely necessary in avoiding the convergence of parallel lines, as when photographing tall buildings.
In photography, a perspective control, or PC lens (“PC” stands for Perspective Control) allows the photographer to control the appearance of perspective in the ultimate created image; the lens can be moved parallel to the film or sensor planes, providing the equivalent of corresponding view camera movements.
Lenses that provide only shift are called shift lenses, while those that can shift and also tilt on a second axis are called tilt-shift lenses. The terms PC and TS are also used by some manufacturers referring to this type of lens.
 |
| (a) Keeping the camera level, with an ordinary lens, captures only the bottom portion of the building. |
 |
| (b) Tilting the camera upwards results in vertical perspective. |
 |
| (c) Shifting the lens upwards results in a picture of the entire subject. |
Wide focal length perspective correction PC lenses (say 17 mm through 35 mm focal lengths) are used primarily in architectural and advertising photography. Longer focal length perspective correction lenses are also used in other applications such as landscape, product, fashion, and closeup catalog photography. PC lenses are generally designed for single-lens reflex (SLR) type cameras, as rangefinder cameras do not allow the photographer to directly view the effect of the lens, and view cameras allow for perspective control using the built in camera movements, negating the need for tilt or shift on the lens itself.
PC lenses are most popular in the 35mm format, though there are excellent examples found in Medium Format photography as well. Mamiya, Hasselblad, Zeiss, Schneider, Rollei, and Bronica are but just a few of the many who offered medium format tilt/shift lens solutions.
A PC lens has a larger image circle than is required to cover the image area (film or digital sensor) so it can allow view camera type of shift movements. Typically, the image circle is large enough, and the mechanics of the lens sufficiently limited, that the image area cannot be shifted outside of the image circle. Usual practice when employing a PC lenses is to also use a smaller, stopped down aperture setting to prevent vignetting when significant shifts are required and to improve the edges. Most perspective correction lenses are the same as regular lenses, the edge performance of the lens is not as good as the center “sweet spot.”
One of the advantages using a tilt-shift lens designed for medium format 6×6 coverage is my full frame A7R 35mm sensor is much smaller, hence it is only using the very center of this medium format perspective correction lens, eliminating the need to bother considering edge performance. Even at the movement hard stops, the image circle edges are well beyond that portion focused on the relatively small 35mm size sensor. This gives maximum resolving power for both my Sony full frame bodies and the new Olympus OMD EM5 with its 64MP High Resolution Capture mode.
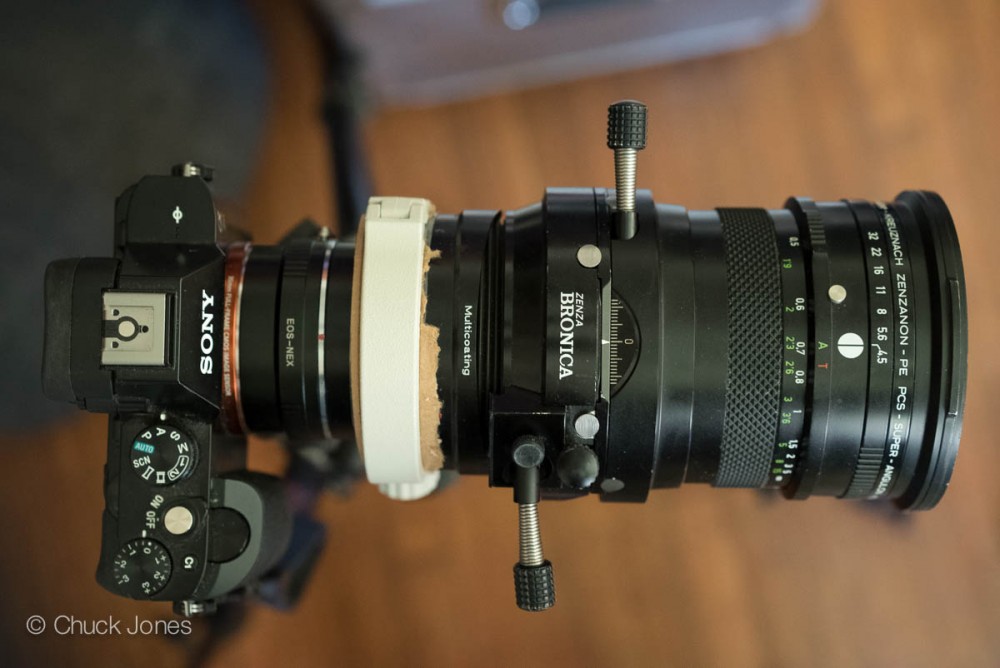
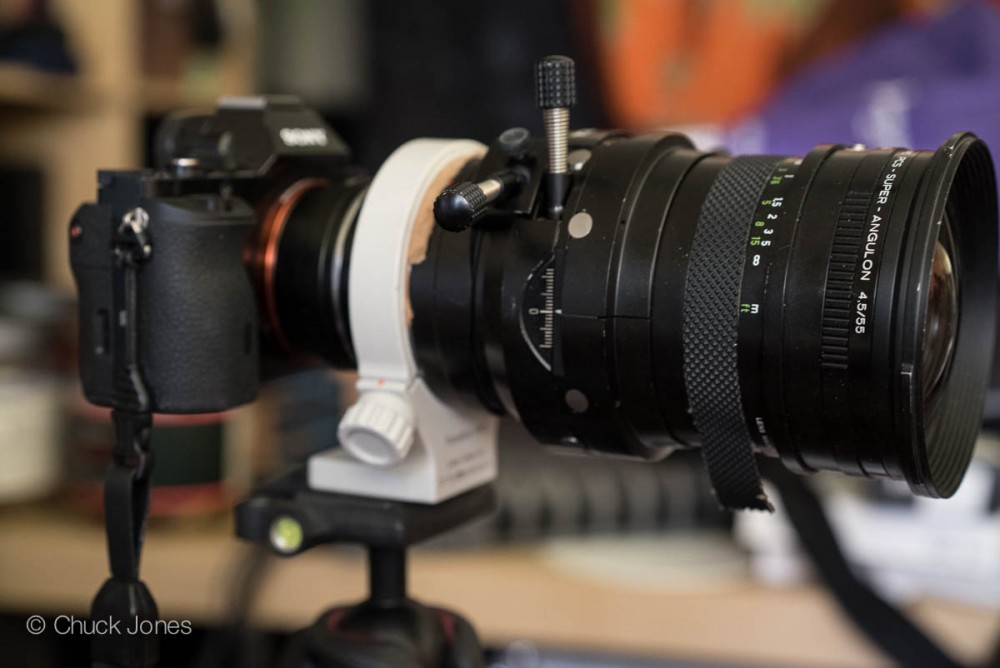
The BRONICAsaurus, adapted to my Sony A7R, is ready to get down to serious perspective correction business. (please ignore cardboard & gaffer tape padding the Canon support collar)
Tilt and shift on two different axis at the same time allows for better placement of subject in a frame, a more pleasing composition without the necessity of moving the actual camera position. Some high rise buildings in tight places, getting a camera setup in the optimum camera position for a particular shot is impossible. This is where movements in multiple axes simultaneously can make the difference between an award winning photograph and a converging parallels disaster.
Many PC lenses in the 35mm world only have one axis shift, side-to-side or rise-fall depending upon how you orient the lens. These lenses work fine for architecture photography, but I recommend strongly having three axis and full movements for good product photography where often the final image look is dialed in using tilt and shift.
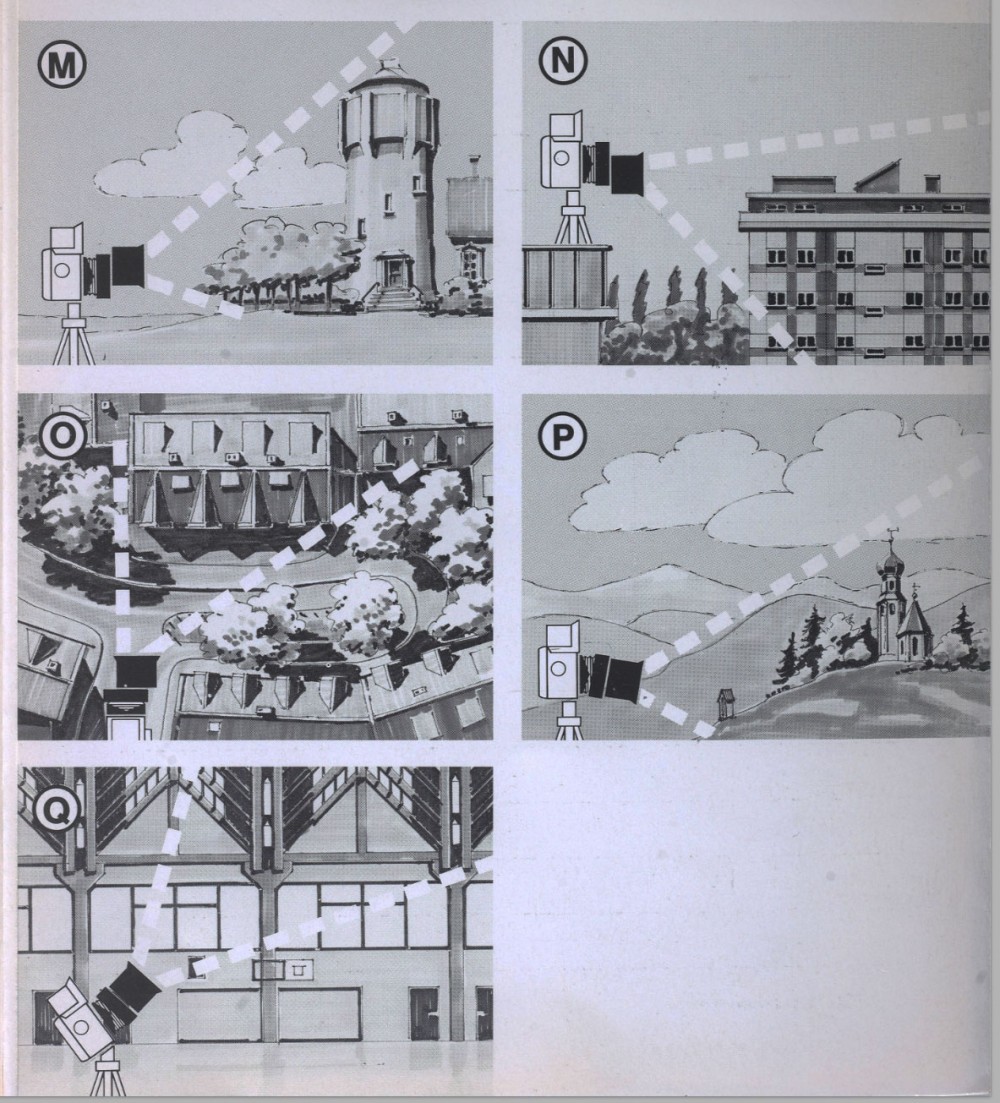
Infographic from the Rollei 55mm PCS manual illustrating the lens movements and each of their corresponding image effects.
The Bronicasaurus features tilt, shift, and rise or fall, all your choice as all three axis are independently adjustable at the same time, so I can really dial in my perspective correction exactly as I would like it, while simultaneously playing with the depth of field to enhance the image focus foreground and background. Life as a photographer is easier when you have all three options. The Bronicasaurus gives me those options, admittedly at the cost of much greater size and weight than a normal lens.
At 2.9kg, the Bronicasaurus is not something you want just rattling about in your kit bag. When I pull this puppy out of the cabinet and put it in my bag, I mean business. No mirrorless photographer in his right mind would own such a behemoth without good reason. My reason? Options. I’ve never found a good way to “fake” perspective correction in post, they just never seem to “feel” right, so I prefer to try to get it right in camera and save the post work for necessary final output adjustments. I also greatly appreciate having camera movements shooting table-top work and still life.

Illustration #1 – Normal appearing image, behind the scenes using lens shift and fall to include the foreground flowers as the primary focus point.

Illustration #2 – Same camera position and settings as Illustration #1 above, with tilt applied to bring background into focus as well. Note: The patio concrete is blurred because the aperture for this exposure is at F4.5. Only the plane of focus has changed; not the depth of field. At F4.5, the depth of field is still reasonably shallow. To get the concrete patio into perfect focus as well, stopping down to F8-F11 should do the trick.
Perspective Correction in Software (or how can I avoid lugging around a Bronicasaurus?)
Computer software is often used for perspective correction in post processing, long after the actual photo shoot is completed. Photoshop’s perspective and distort functions can be used to control and adjust some distortions in post. The problem is, techniques such as this don’t let you recover the lost resolution in far distant areas of an image. Also, there are issues with the recovery of lost depth of field due to the angle of the film or sensor plane being out of correct alignment to the subject in the first place. One corner, for example, could be sharp and three corners soft.
High resolution images hold up better to software perspective correction. Depending on the original image resolution, when you Photoshop in perspective correction you are basically distorting the actual pixels, which can cause areas of the image enlarged by these digital techniques to suffer pixel interpolation. You always need good judgement as to how much perspective correction or manipulation you can do, depending also upon your ultimate print or display size and viewing distance to the work. In every case, it is a LOT of work in post to do perspective correction. How much easier to just estimate the distance, and look it up in the following chart so it is captured perfectly in camera to begin with. The Rollei PCS 55 is the same lens as my BRONICAsaurus with a different name badge and a $10,000 price tag, so these same Rollei instructions apply:
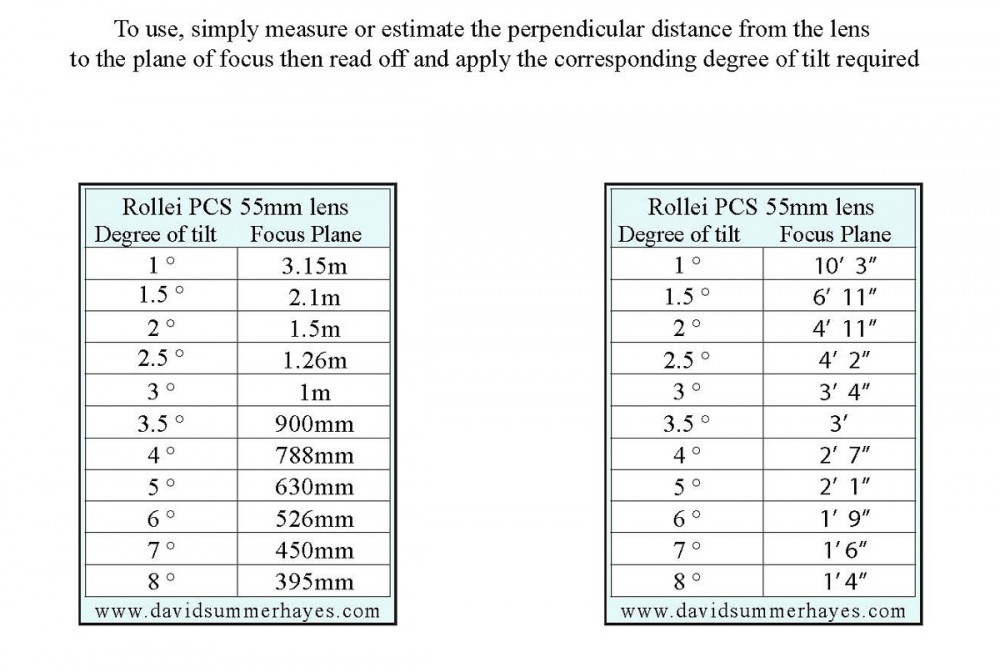 The realistic effect of using tilt or swing movements for perspective correction is less easily accomplished in post-production software. If every part of the image is within the sharp depth of field area, it’s reasonably easy to simulate the effect of shallow depth of field that could be achieved also by using tilt. You can always smudge things up or gradient blur in Photoshop if you want a softer effect. If the image happens to have a finite depth of field, post-production cannot simulate the perspective correction sharpness I could achieve using just a couple degrees of tilt to maximize sharpness in background and foreground. Without having to stop down my lens.
Please rate this story, and why not share it with your friends? [ratings]


