The Exposure Triangle
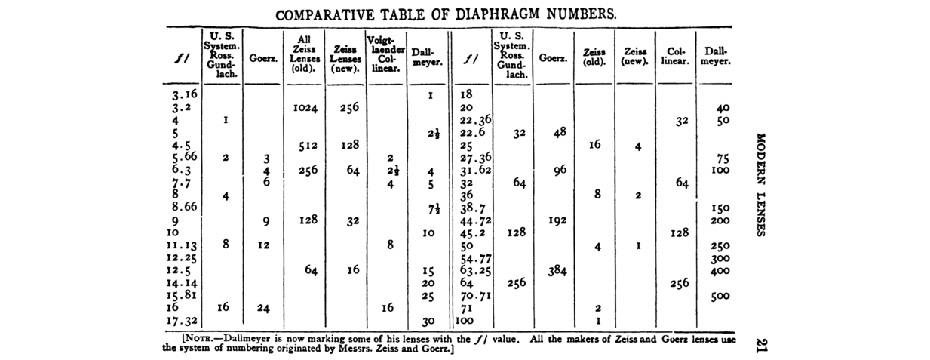
Understanding the three pillars of The Exposure Triangle, and how to use each of them to your advantage in concert, is one of the highest arts in photography. Up there with color and composition. Understanding the exposure triangle of shutter speed, aperture, and ISO is the first step in mastering photography. They are three of a photographer’s primary tools he will use the rest of his photographic life.
To get your head around the concept, photographer Tony Catalano has created the Interactive Exposure Tool as an online tool for exploring how changing camera settings affects the resulting photo of a scene before actually going out and shooting with a physical camera. Call it sort of a “photographic flight simulator.”
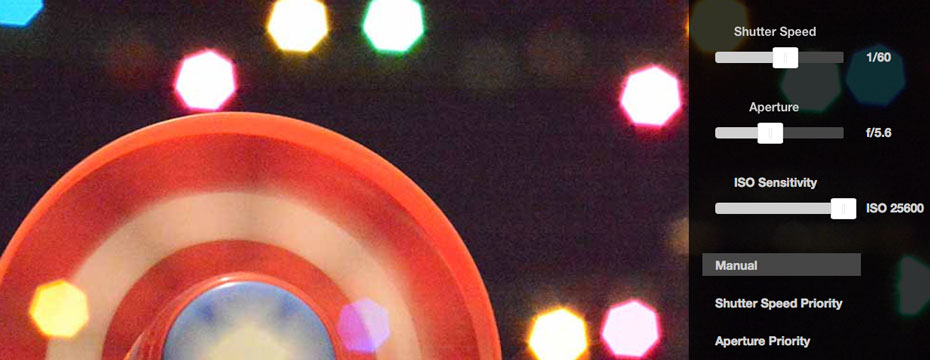
As you can see in the Cinemagraph above, an actual client image from one of my shoots last week, the Sony a7S has extraordinary low light capabilities. Check out the settings I used for this image on the Interactive Exposure Tool and you’ll see for yourself what I’m talking about when planning images with this many severe light limitations.
My shutter speed was set to 1/60th sec to deal with probable stage lighting flicker. My aperture needed to be wide enough to capture a clean image of the dancer in front, while sufficient to project enough depth of field for good detail in the band. And balance that with as high an ISO as possible while staying inside certain image noise quality standards. I chose to go with f/5.6, a compromise, which gave me an ISO of 25,600. That high ISO is what I find remarkable, looking at the video and Cinemagraph.
Play around changing the settings on the interactive Exposure Tool to better understand the Exposure Triangle for yourself.
Enjoy!
Please rate this post and share it with your friends! [ratings]


