Skin Tone Retouching: Correct Colors and Match Tones
From Michael Woloszynowicz YouTube Published on Apr 16, 2014
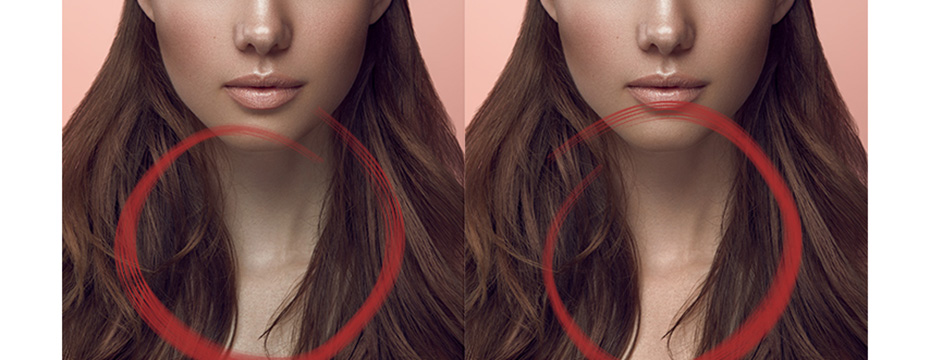
In this video Toronto, Canada based Michael Woloszynowicz will be performing skin tone retouching with color matching and tonal correction using an intuitive technique he created involving solid fill layers and tonal averaging. While skin tone retouching can be done using hue/saturation and curves adjustments, it can be a very tedious, long drawn out affair. Unless done carefully, it can also result in blotches that may not show up until the image is printed. As an alternative, this approach to skin tone retouching is both simple and effective and serves as another tool for your hybrid storytelling toolkit. This method requires Photoshop CS5 and higher.
The technique, which Michael calls the Subtracted Average Color Adjustment (SACA) – for lack of a better name – as this is exactly what it does. It takes two averaged colors, computes the difference between them and applies that difference to a destination area via the appropriate blend mode. It works best for fixing issues such as those presented in two sample images shown in the movie, whereby parts of the body do not match the face or other areas. Note that this technique does tend to work best if the mismatched area is darker than the source. Fortunately, that is the case in the majority of situations. In the rare case that it is lighter, you can either darken affected area first with a curve – save the mask used for the darkening so you can re-use it later – and then run the action, or run the action in the standard manner and use the darkening curve provided to bring the luminosity down. The former approach will provide you with a better result than the latter.
A fine job Michael, and we thank you for recording and posting it for us all to benefit from. High five, dude!
The action used in this video can be downloaded from Michael Woloszynowicz’s website here:
http://www.vibrantshot.com/how-to-eas…
PLEASE RATE THIS STORY! [ratings]


